How to Set Up Your Google Maps API Account & Key
Previously, displaying Google Maps on your site was free and unrestricted, but in June of 2018, Google Maps started requiring an API Key to display custom maps. In order to help offset the cost, they also started offering a $200 per month credit – roughly 28,000 free requests per month which is more than enough for most sites small to medium marketing sites. In case this limit is exceeded, Google requires you to set up a billing account to handle overages. Within your account, you can also set quotas so that your usage never exceeds the free amount.
Below you'll find the steps you need to take to generate the API Key. Once you have the API key, you can use it to create custom styled maps for your project. As always, please reach out if you have any questions!
Step #1: Create a Google Account
If you don't have a Google account, you will need to create one:
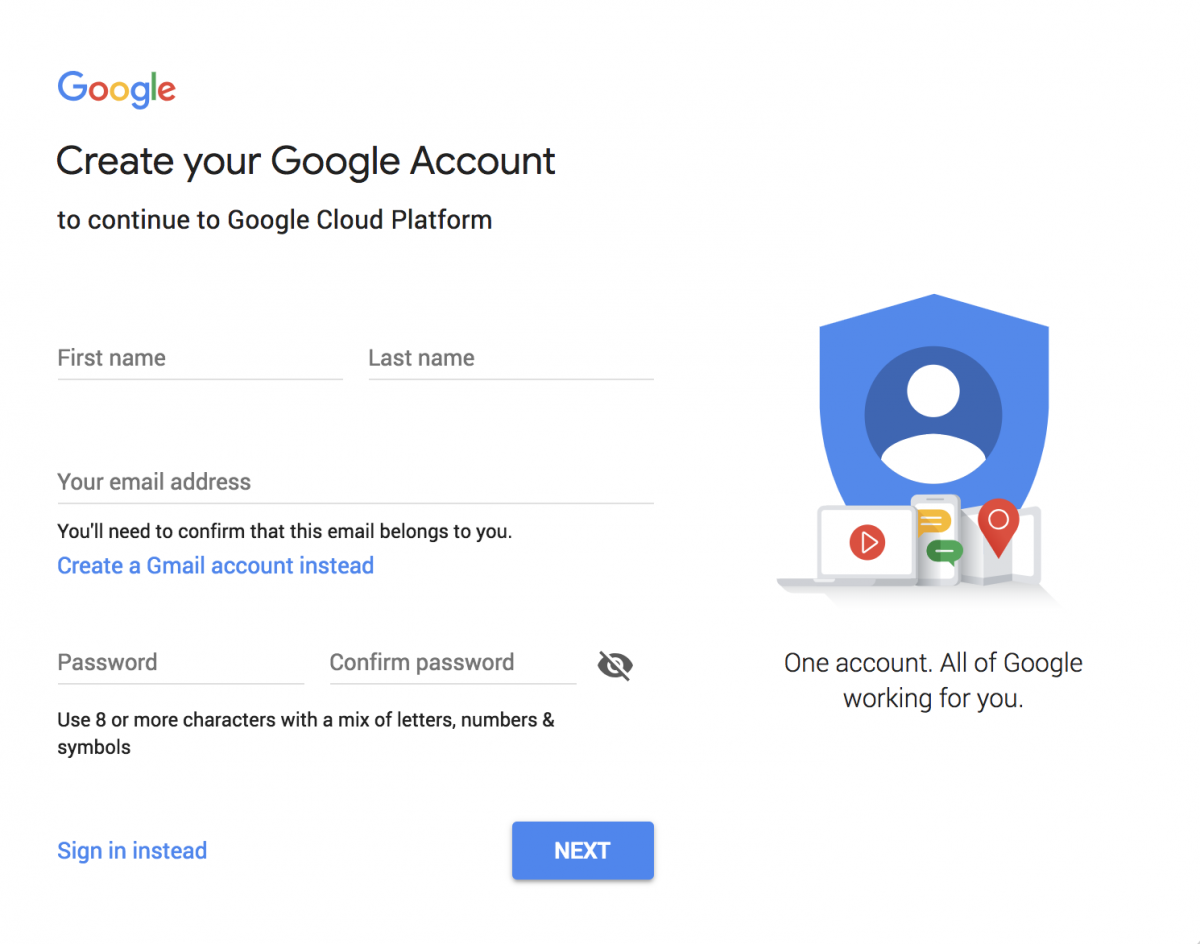
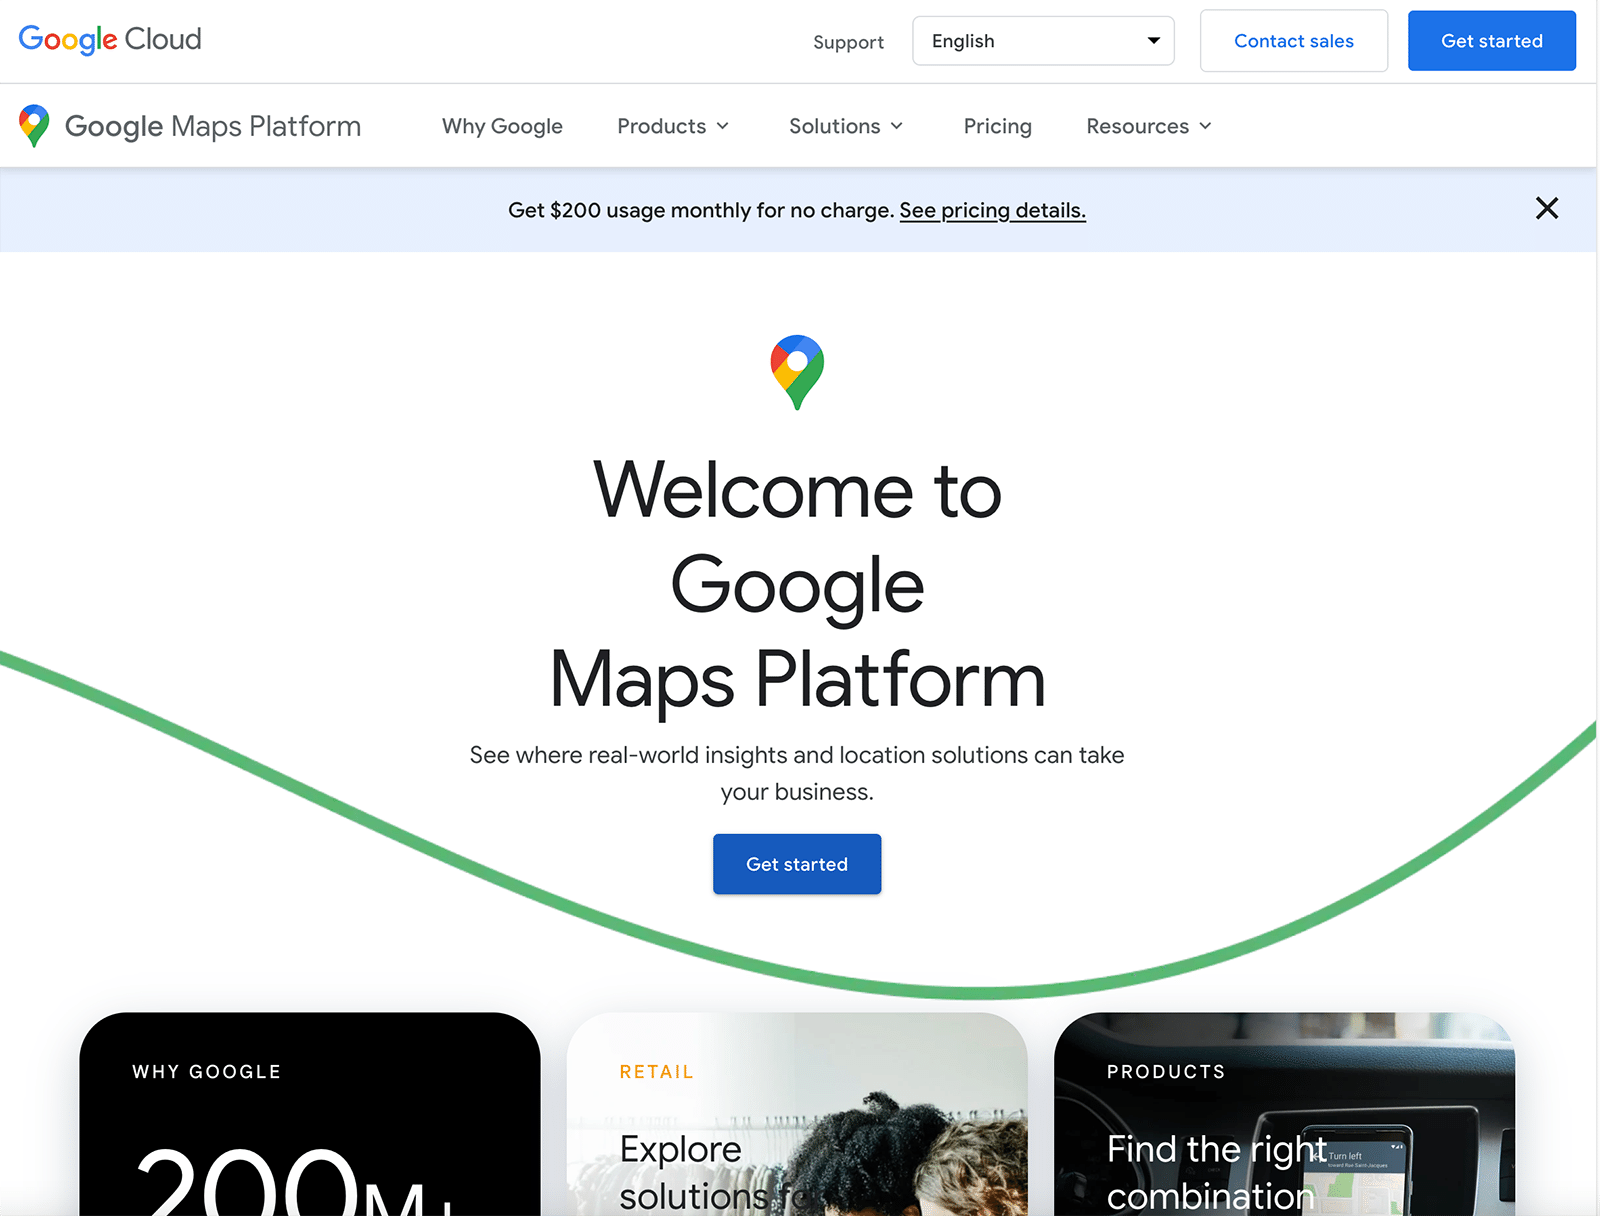
Step #2: Go to the Google Maps Platform
Once you are logged in to your Google account, navigate to https://mapsplatform.google.com/ and click "Get Started" or head directly to the Console Cloud Start page.
Step #3: Set Up Your Billing
Once you land on the start page, you'll be immediately prompted to create a Billing Account if you don't have one tied to this account.
Click the "Manage Billing Accounts" link

Click "Create Account"
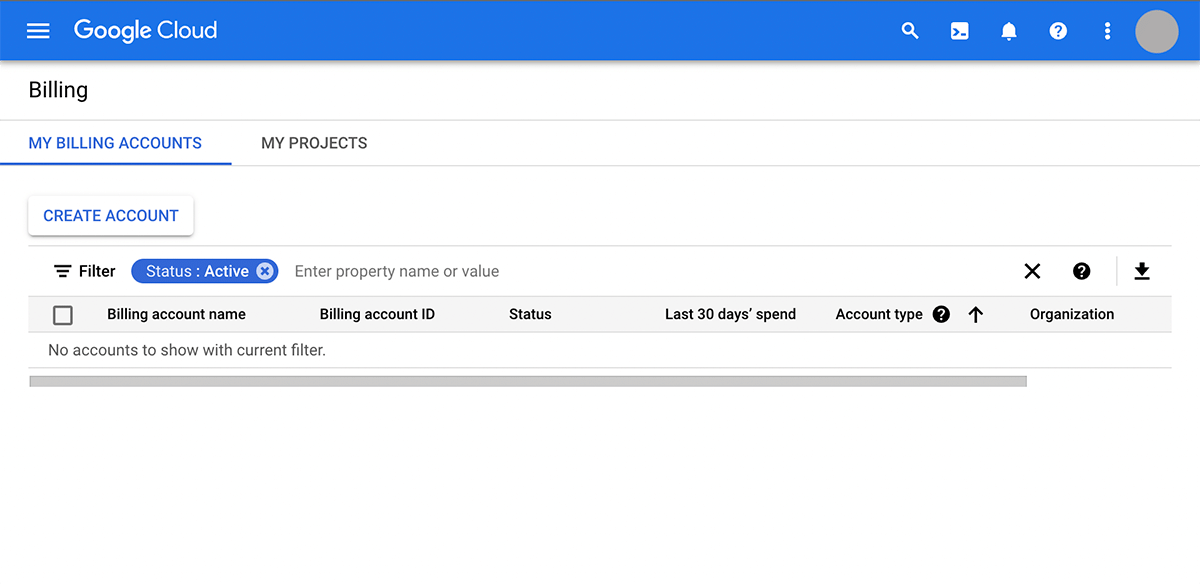
Follow the prompts to name your billing account, create your payment profile and add a payment method
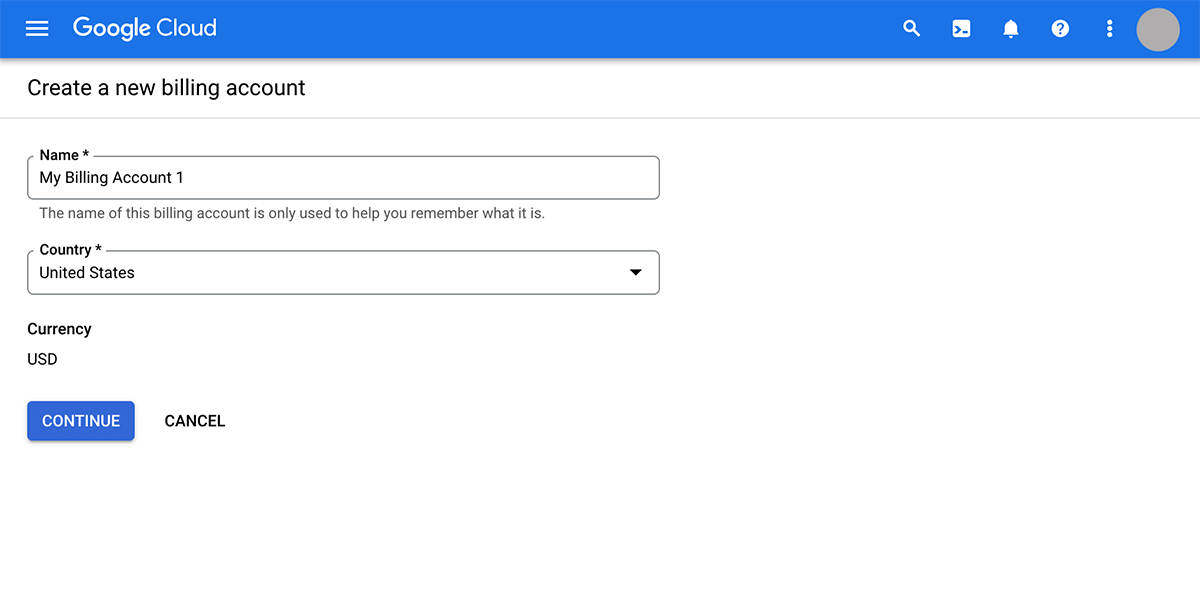
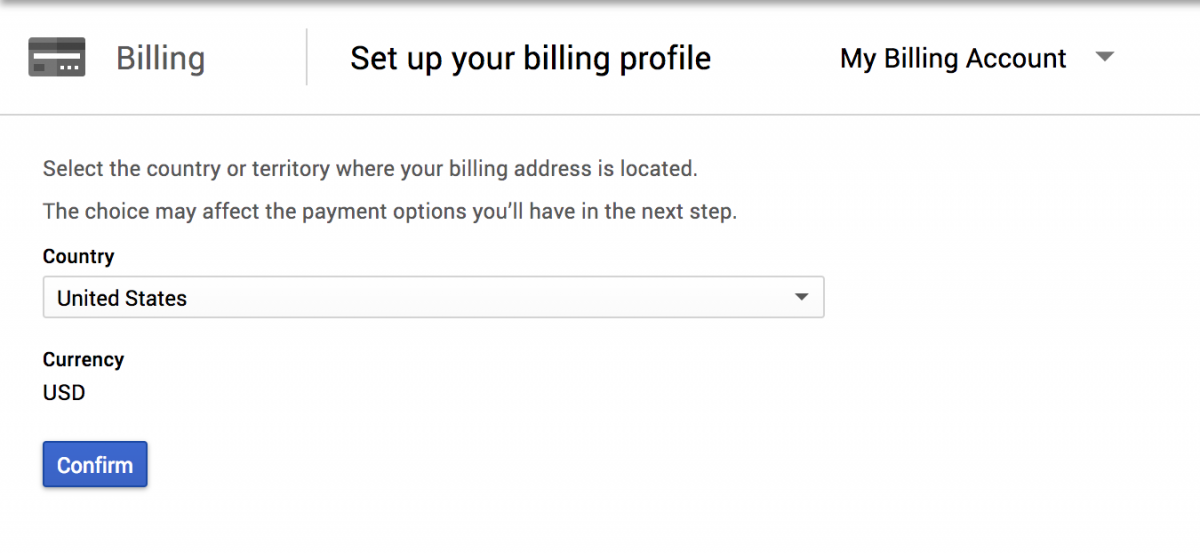
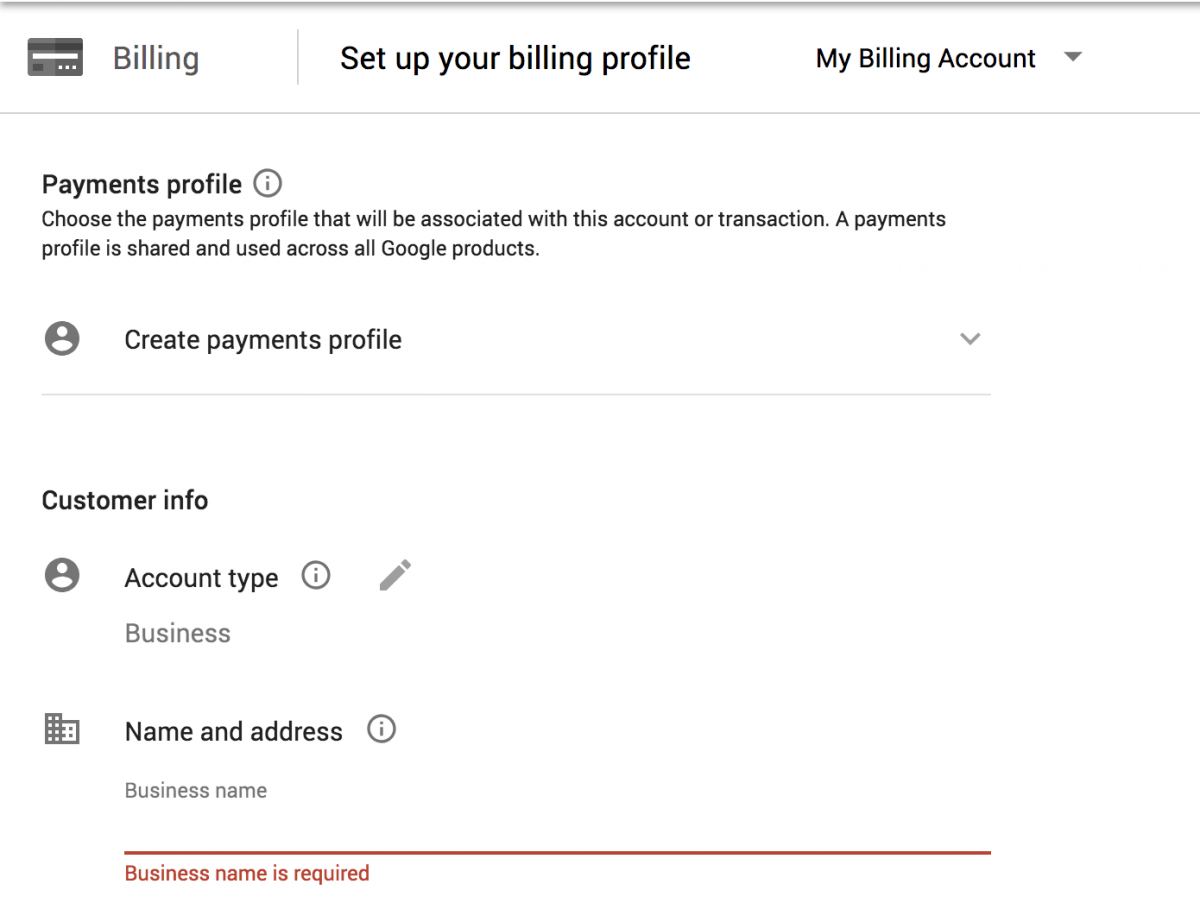
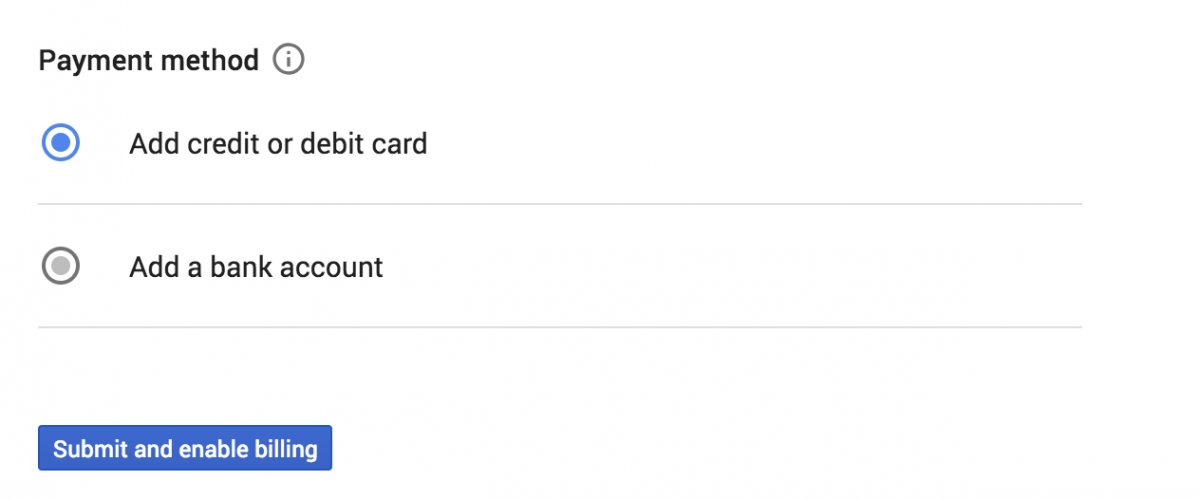
Step #4: Create Your API Key
Use the upper lefthand navigation to get to APIS & Services > Credentials
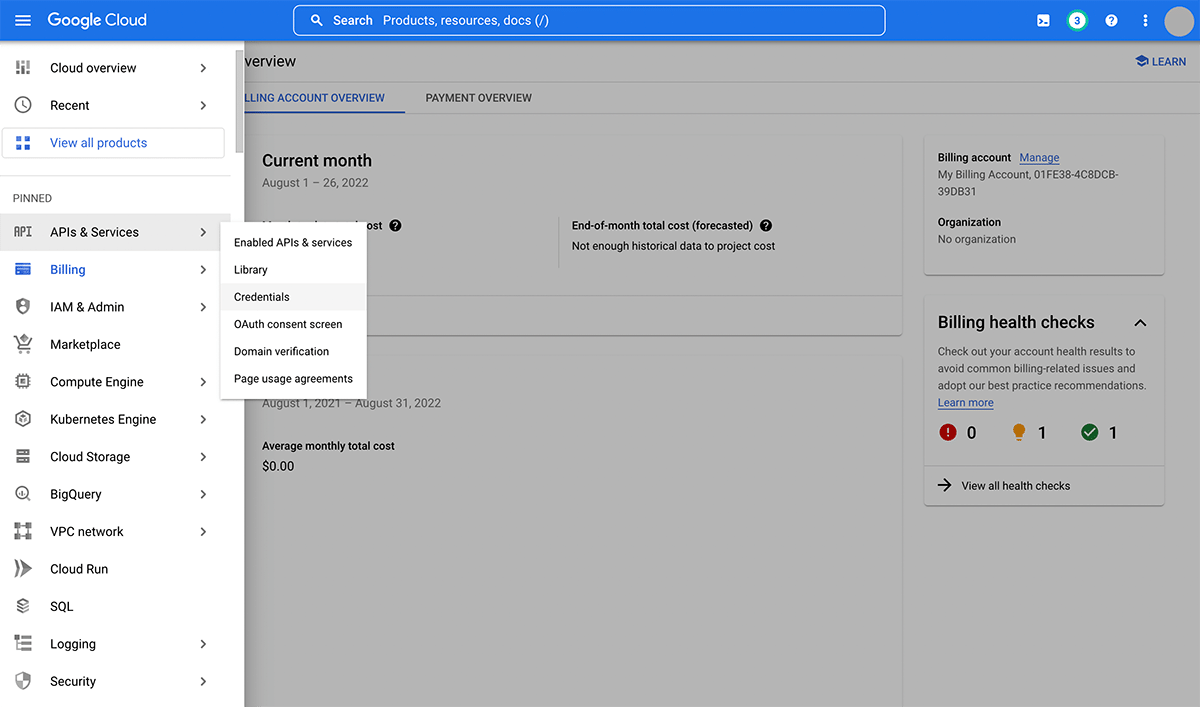
Click "+ Create Credentials" and select "API key" from the dropdown options
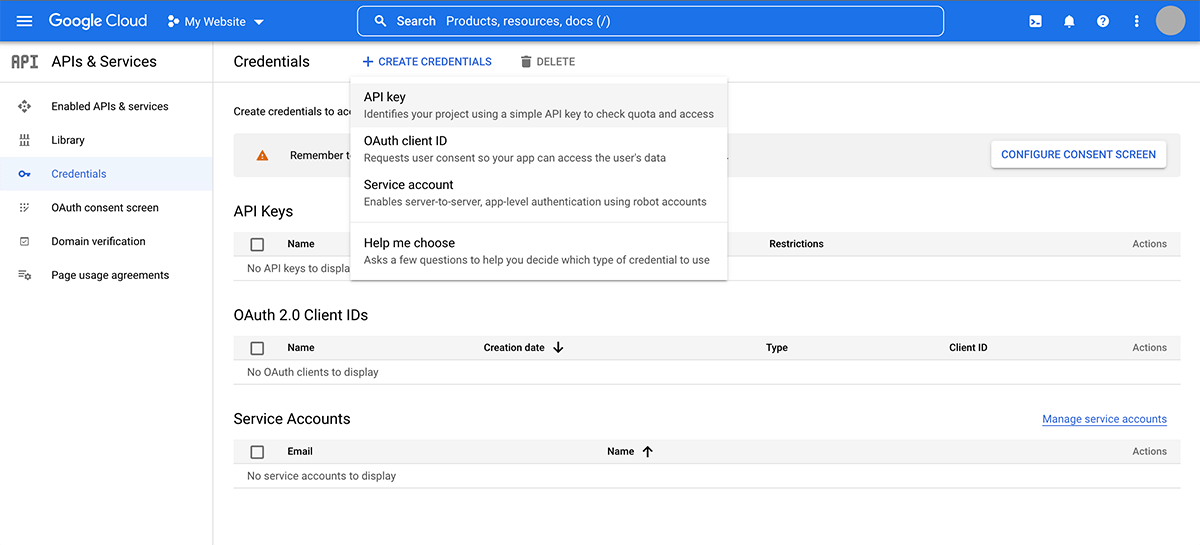
Copy the code that pops up - this is your API Key! You'll need to save it or email it to support@educowebdesign.com

Step #5: Enable Map APIs
By default, your API key will have all mapping API functions available to it. This is okay, but limiting the available APIs to just the ones we need adds some restrictions to your key to prevent overuse.
Once you click into your API Key, you'll see an "API Restrictions" section. Clicking "Restrict Key" will give you a dropdown with Map API options.
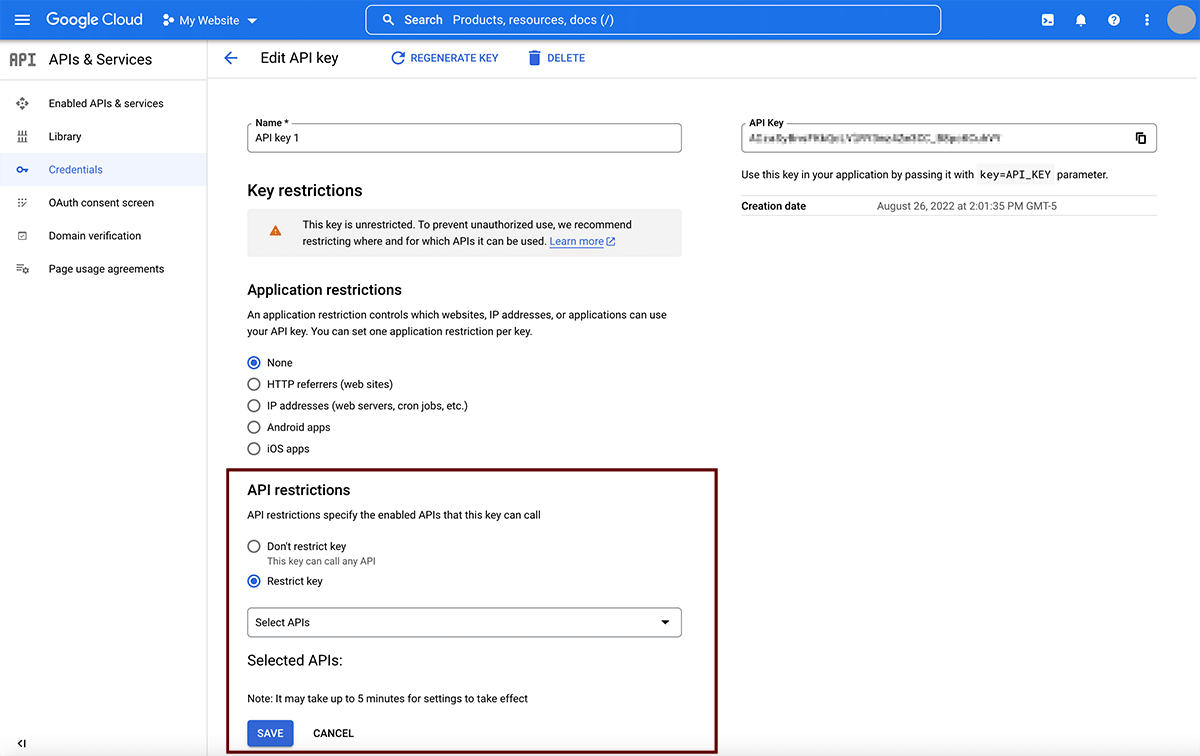
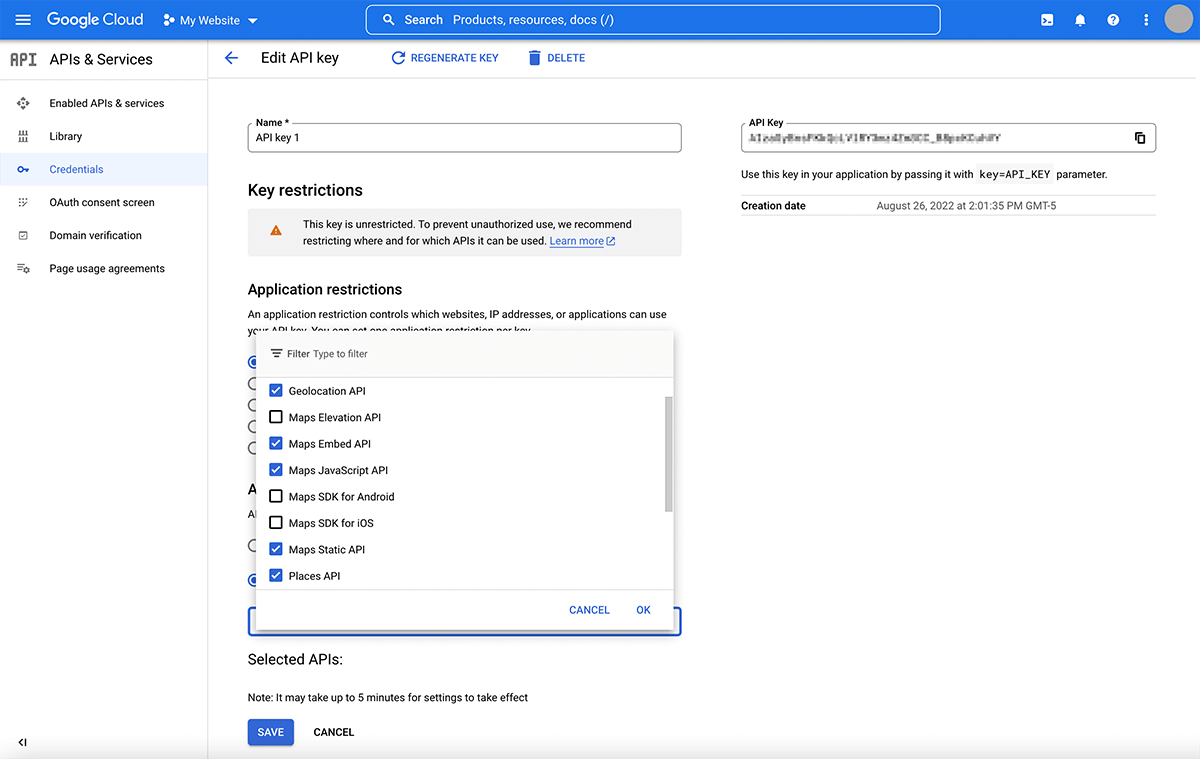
Check the following:
- Geocoding API
- Geolocation API
- Maps Embed API
- Maps JavaScript API
- Maps Static API
- Places API
Step #6: Restrict Your Key
To further restrict your key and prevent other websites from stealing your map loads, you want to set it to only work on your website.
Under the "Application restrictions" section, tick the "HTTP referrers (web sites) option" and "Add an Item"
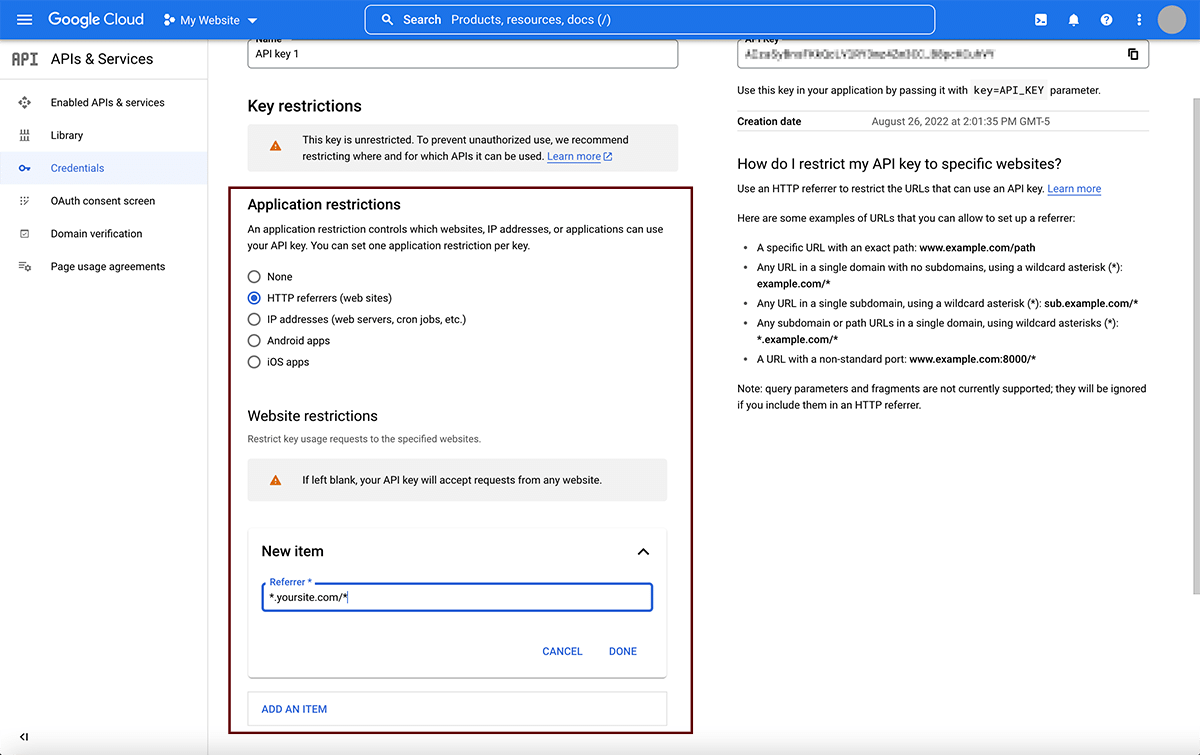
You want to use a wildcard URL so that all pages on your website are able to use the key.
Enter "*.yoursite.com/*" replacing yoursite.com with your domain. You may enter as many domains as you want for your organization. Be sure to include development sites if you have any. After entering each domain, click "Done".
Celebrate!
You did it! That was a lot of steps, but now you can add custom maps to your website!
You can monitor your API usage from the API dashboard or check the quotas from your IAM & Admin quotas page.
Happy Mapping!